Contributing to Moov open source docs (part 1)

The documentation for our open source projects is here to serve you, the community. We’re always interested in feedback from those using our open source libraries and incredibly thankful to anyone willing to contribute to them. In this article, we’ll map out how to quickly and easily suggest changes to our documentation.
When you see an issue in an open source project, the instructions for making changes are often so daunting that it’s easiest to ignore them. We’re all about making your development more manageable. That’s why we’ve made contributing to our docs as simple as possible.
Documentation layout
Our open source documentation for each project includes two components — a README and GitHub Pages site. The former acts as a quickstart guide, while the latter goes into detail about use cases, file operations, etc. Most of the README’s content is covered in the GitHub Pages site as well. For those new to a project, we recommend skimming through the README before diving into our more in-depth documentation.
We don’t strictly follow a specific style guide for technical documentation, but we aim for consistency. Each documentation file is written in standard Markdown with accessibility in mind. It’s a good idea to preview the Markdown file before submitting changes (both Visual Studio Code and GitHub support Markdown previews). We’re open to all types of contributions, from typo fixes to entirely new pages.
Updating the readme
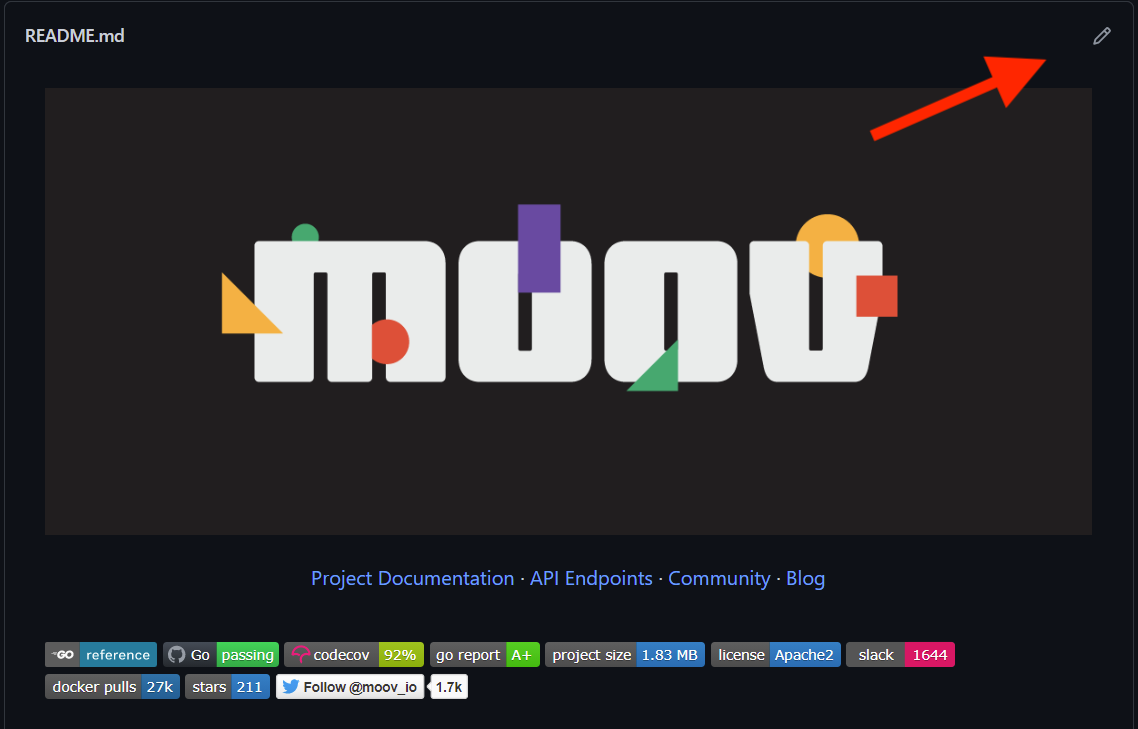
Making changes to one of our READMEs is super straightforward. Each one has a similar structure and will automatically appear below a project’s main file directory on GitHub. To open the editor view where you can easily make changes to the Markdown file, click the pencil icon at the upper right.
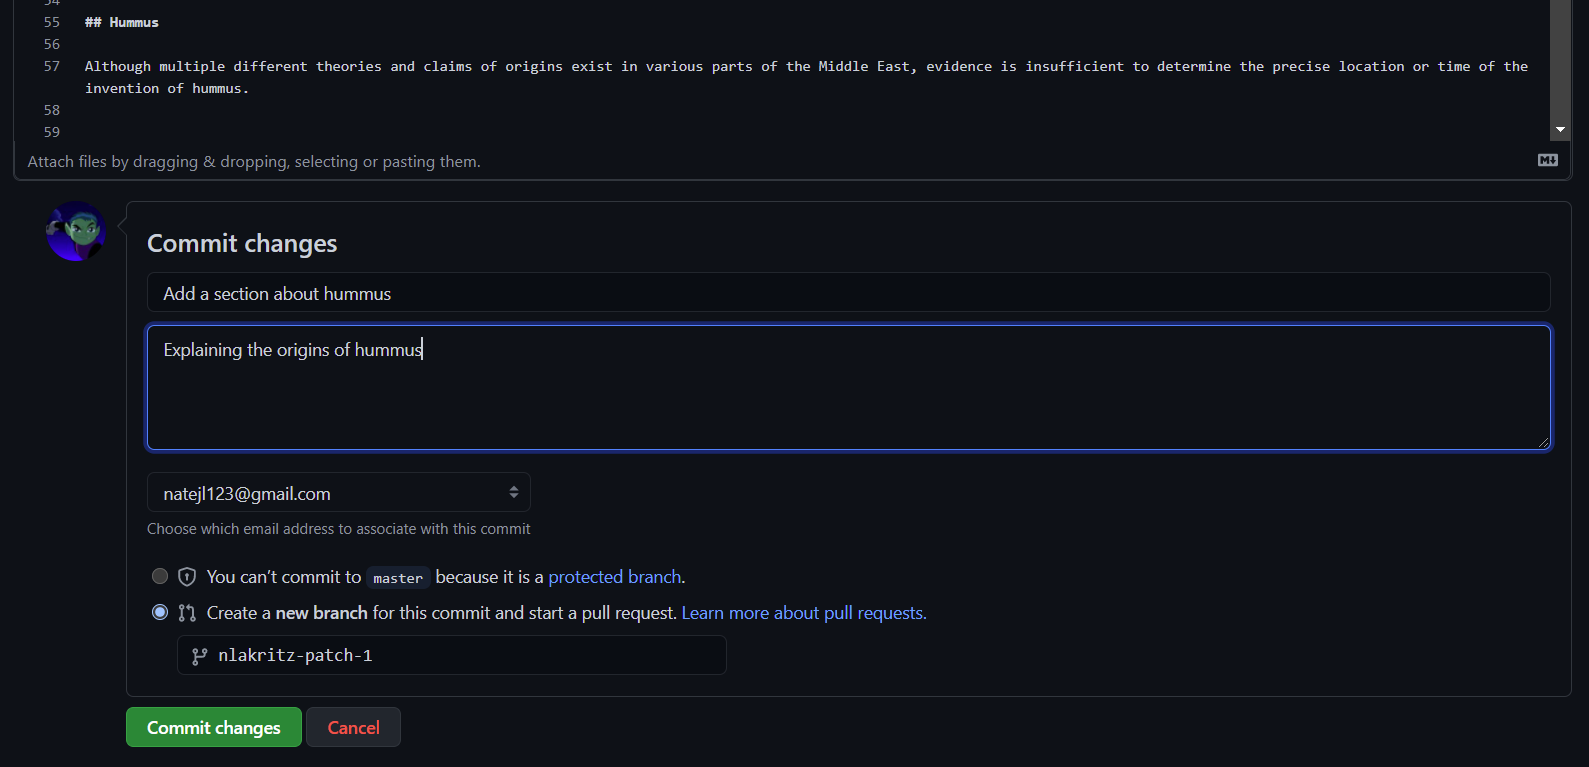
When done editing, select “Create a new branch for this commit and start a pull request” and add a short commit message with a note about the changes you’ve made. When you’re satisfied with your commit, click the green “Commit changes” button.
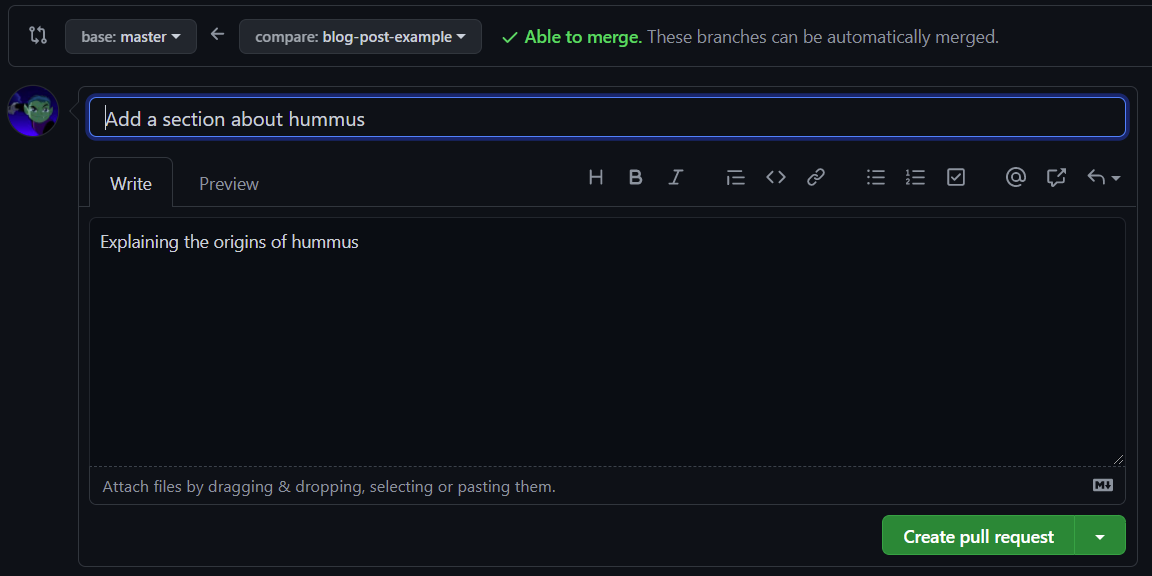
This will take you to a page where you can open a pull request to merge your newly created branch into the master branch. Lastly, click the green “Create pull request” button.
Congratulations, you are done! Our team will see a notification of your pull request and review it. If you want to go the extra mile, you can share a link to your pull request in our #documentation channel on Slack.
Updating the GitHub Pages site
You can view a project’s GitHub Pages site by visiting https://moov-io.github.io/<PROJECT-NAME>, substituting in the desired project name. These documentation sites are built with Jekyll and use a custom Bulma theme, but you can simply edit the Markdown files to make changes. All of the files are located under the ‘docs’ folder in a project’s main directory. The process of submitting changes is identical to the steps in the README section above. Just edit, commit, and submit a pull request!
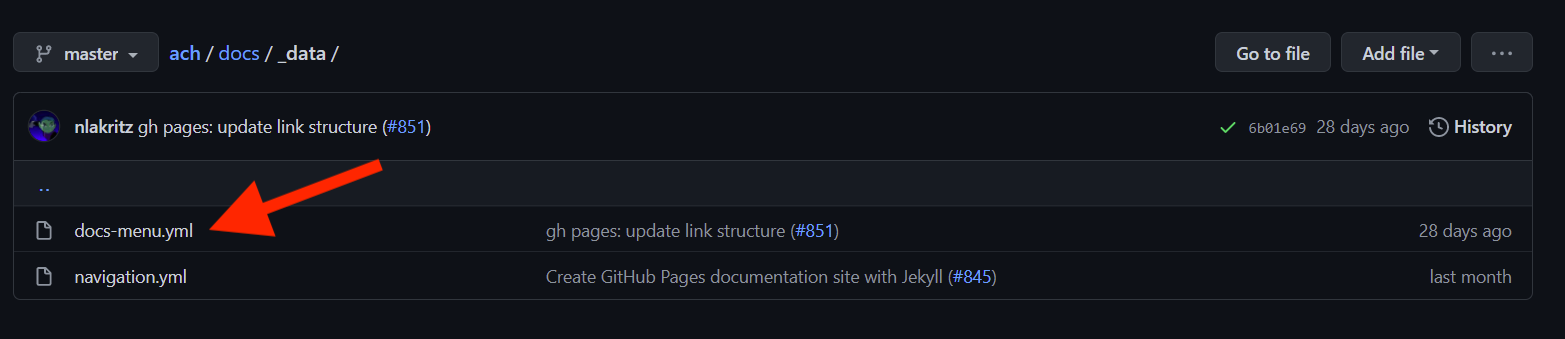
If you’re adding a brand new documentation page, you’ll need to add it to the table of contents sidebar too. This can be done in the ‘docs-menu.yml’ file located in the ‘_data’ folder.
Lastly, you’ll notice that each Markdown file has a bit of metadata at the top. This section is called the front matter and needs to be present for the page to load properly. If you’re confused about what to put here, just copy the front matter from an existing file and change the title.

That’s it! You’ve successfully done your part in moving us closer to a more inclusive and accessible financial system. If you have any questions, please feel free to drop a line in our Slack group, and we’ll make sure to connect with you.
See Part 2 if you want to submit changes to our open source API documentation!